Rudders and Skegs
Rudders and skegs are usually conveniences when crossing open water perpendicular to the wind. The bow of the boat is cutting through the water and is effectively pinned. The stern of the kayak is in the turbulence and more easily moves sideways. As a result, a moving kayak will tend to turn into the wind. This is called weather cocking and can be addressed using an upwind lean and sweep stroke on the upwind side with normal forward stroke on the downwind side.
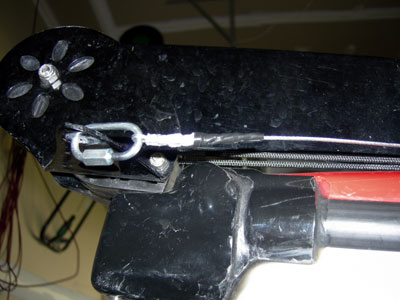
The topic of rudders and skegs draws many opinions from paddlers. A rudder can be deployed or retracted by the paddler from the cockpit of the kayak, and by using the pedals (see picture) the rudder assists with steering. A skeg, like a rudder, can be deployed or retracted, but it is permanently aligned with the center of the kayak. The skeg therefore helps the kayak travel in a straight line.
The reason rudders and skegs draw strong opinions is safety. Paddlers in favor of using them say that additional control of the kayak results in greater safety. Opponents to rudders and skegs say that rudders and skegs are used instead of proper technique and relying on them when conditions worsen can lead to problems when they cannot be deployed. Sand and other debris can easily become lodged between the moving parts of a rudder or skeg. In some cases, rudder cables can be broken and both foot pegs will become useless as a result.
On my trip to Janes Island State Park, I noticed my rudder pedals becoming soft. When I would press against the pedals to stabilize my kayak, there was a noticeable stretch in the cables. Since the pedals are on rails, a break in the cable would allow the pedals to slide out of reach and prevent me from effectively leaning my kayak. Even though the rudder was not deployed, use of the pedals to wedge my legs against the cockpit is not possible with a broken cable.
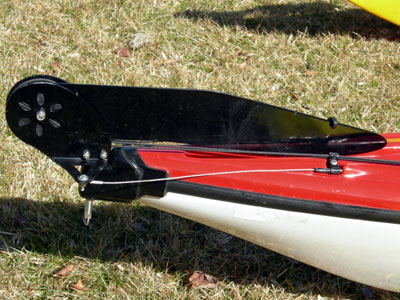
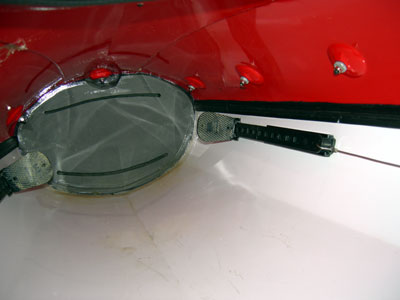
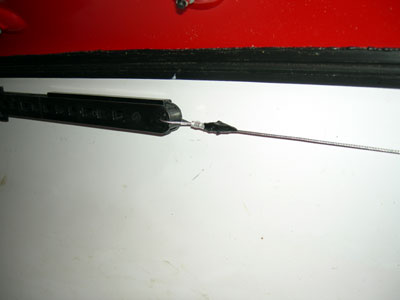
As you can see from the third picture, the cable has nearly separated from the attachment. Fortunately, this was fairly easy to repair. First I clipped the cable near where it attaches to the pedal rail near the far right side of the second picture. I then slid the pedal rail forward and off the track and removed the cable by pulling it out the near the rudder. With the pedal rail in hand, I clipped the cable. From the hardware store, I purchased additional cable, a swaging tool, a bunch of ferrules, and a 1/8 quick link.
After clipping off the cable from the pedal rail, I ran the new cable through two ferrules, the pedal rail, and back through the two ferrules. Using the swaging tool, I compressed the ferrules into tight cylinders, and used some electrical tape to prevent the frayed end from scratching my leg. I could have had the cable end inside the ferule, but this would reduce the effectiveness of the second ferrule. Next I reinstalled the pedal rail on the track and pushed the cable through the guide tube.
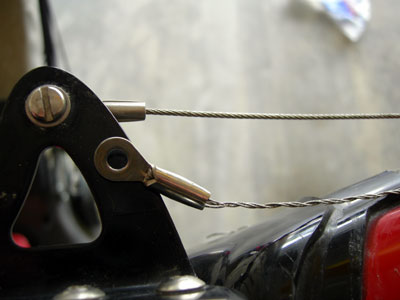
Where the cable comes out, I ran the cable through two ferrules, wrapped it around a removable chain link, and guided the cable back through the two ferrules. After that, I adjusted the length so that the pedal rails were located in the same position inside the kayak and the rudder was straight. This was fairly easy since the pedal rails were almost aligned with the end of the track. Using the swaging tool, I clamped the ferrules around the cable and trimmed the excess cable. I covered the exposed cable end with electrical tape.